Lately I've been going a bit insane waiting for a contract to fall into place. So to stay sane I've gone back to doing some woodwork.
Looking around for projects I decided on making some chairs because we need some new ones for home. If possible it would be great if they could be also could be medieval in style because then I could also take them to SCA events.
I had a rough idea of what I wanted to make but the work area I have is pretty awful so I decided to start afresh with a new work bench.
I've been particularly interested in Chris Schwarz's take on the
Roman/medieval workbench. The bench is very simple and would be very easy to make if I could find the right wood.
I went out into the forest and found a legal log (from a fire wood coup) which looked suitable. I'd show you a photo but I forgot the camera.
The first step to making the bench after finding a suitable log is to buck (cut) it to length. I have a number of crosscut saws but with Sarah off looking after the kids I pulled out the chainsaw.
Once the log has been cut to length it must be split in half. In Europe and America this is often started with an axe or froe in the end of the log and then continued with gluts or wooden wedges. My experience with many Australian hard woods is that they are not that easy. So I often resort to metal wedges because the force required of the wedges means that wooden ones don't last very long. Even when I have used such woods as red iron bark (one of the strongest woods in the world) they tend to fail after I've used them to split three or four logs. This means I often resort to metal wedges. The log I found was a Meshmate which is an excellent furniture and structural wood and sometimes it does split ok. Not this time however.
After getting started I quickly realised that the log was going to split in a mild spiral. In really bad cases I'd just cut the whole lot up for fire wood but it didn't seem that bad. Once I finished though I quickly realised that this log would not do for my bench.
In the photo you can see how much twist is in was in the log that I split. The end towards the back of the trailer is almost parallel with the floor of the trailer so you can see the amount of twist. I wanted the full length that I had cut for a bench but with that amount of twist it was not going to work. I could use it for a shorter bench but I decided to use it for something else instead. A lathe.
Before I was going to do anything with the log I needed some new trestles. These were pretty quick to knock up. I did one with three legs which I wont be doing again. The theory is that with three legs the trestle will always sit securely on uneven ground, whereas with a four legged trestle they tend to wobble on uneven ground. Well my experience showed me that while this is true the four legged trestles are so much more stable that I don't mind having to fafth around getting them to sit right. The three legged one keeps on falling over. I could have made the three legged trestle with the legs more splayed but even if I had what tends to happen is that if there is any sideways force on the three legged trestle, like when you are trying to move a log or timber across it, it tips at the single leg end. Not fun especially when moving a heavy log around.

Here is the now shortened half of the log with one of its edges trimmed secured onto the trestle with a dog. I've started flattening the face left by splitting the log in half with these:
The long handled axe is an East German central European roughing axe. The one above is a Germanic broad axe. The roughing axe is double beveled and is really good at cleaning up the rough surface left by splitting the log or after the log has been jogged. The German broad axe is single beveled and is used to finish flattening and then smooth the face that you are working on. Having finished the split face it was time to clean up the back of the log.
The next step of dressing the log is to cut jogs or jugs into the round surface of the log. If I was working on a full log I would do this on a much lower set of trestles or just some logs laid under the log I was working on. Having secured the log I cut three notches making four jogs.
I did this with my Plumb 50's felling axe pictured below. The same axe is also the one I used to knock the jogs off the log.
This is the working face of the log after it has been jogged. Pretty rough but I did it by eye without snapping a chalk line and I haven't done this in a while.
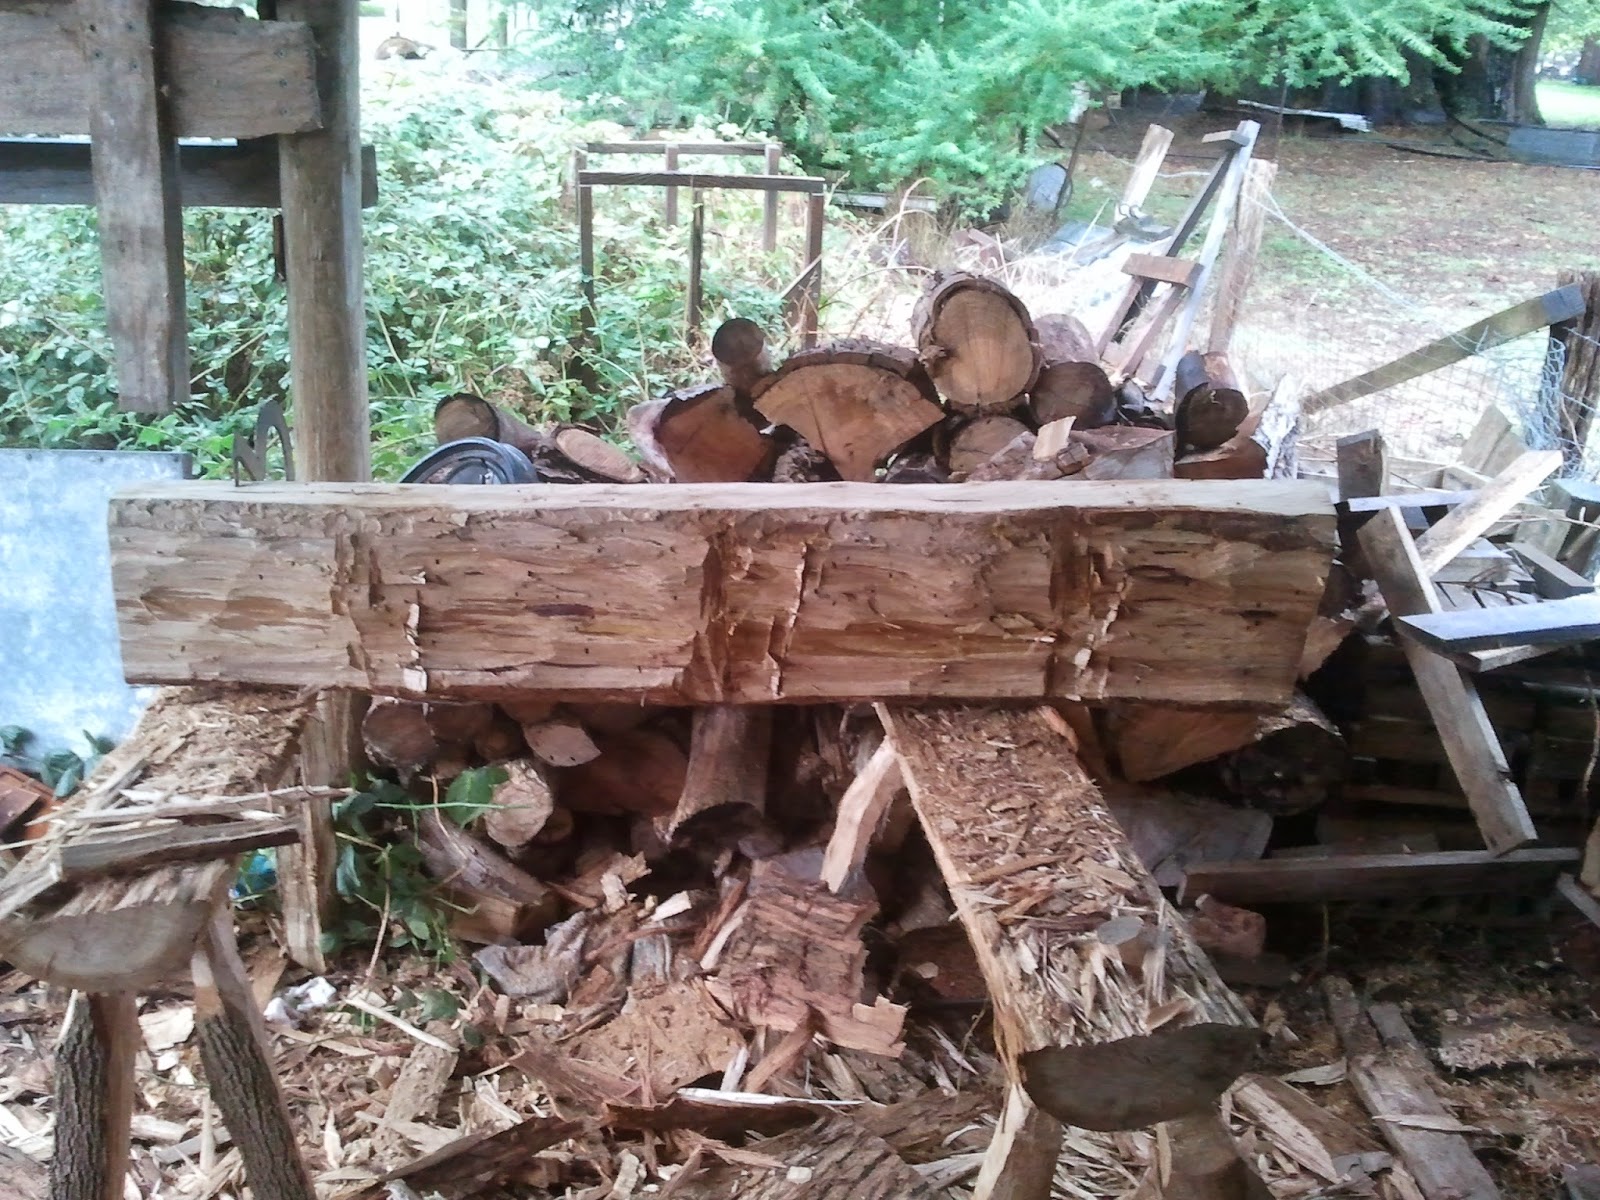
After jogging I used the roughing axe to clean up the surface but I didn't bother with the broad axe since it is going to be the underside of the lathe.
I turned the beam over and cleaned up the last waney edge and it is now ready to work.